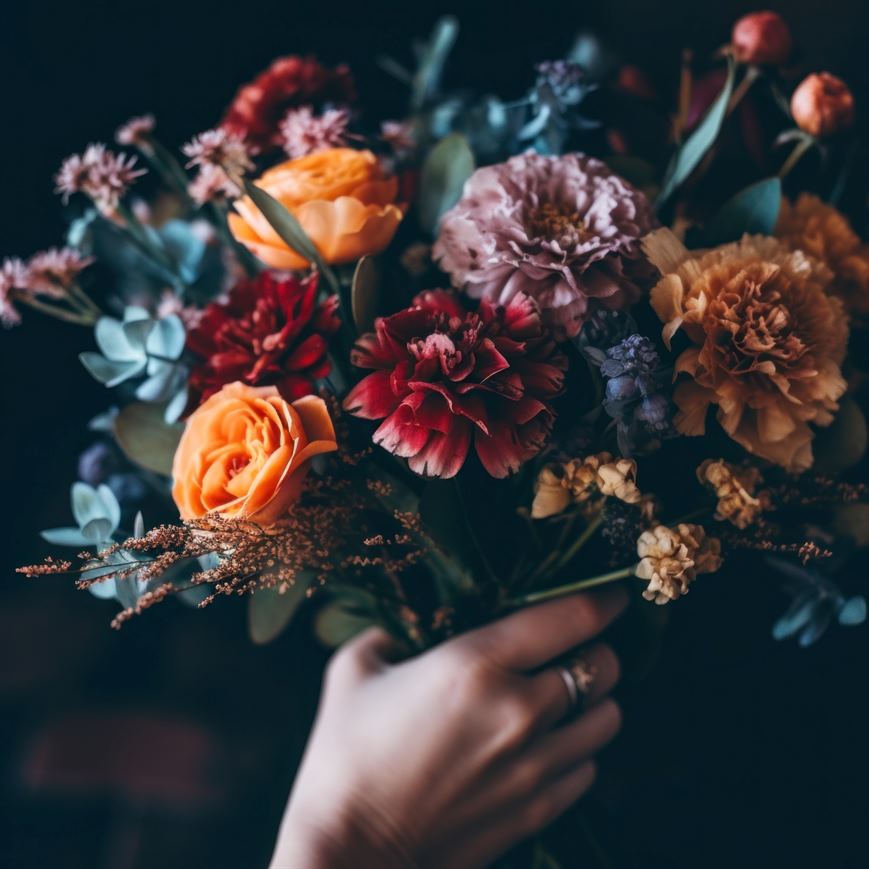
How To Build Your Wedding Bouquet (On a Budget)

For many brides, building a DIY wedding bouquet is a perfect way to add a personal touch to their special day. And for others, it can save a significant amount of money.
Plus, it’s just a lot of fun!
But, before you dive in and start arranging your budget-friendly wedding bouquet, you need to make a solid game plan.
Here are the 8 essential steps you’ll need to follow:
1. Choose the right flowers.
The first limiting factor is going to be seasonality. The type of flowers you can add to your bouquet ultimately depends on what's in-season around your wedding date – especially if you are sourcing from a local florist, farmer’s market, or your own garden. Once you know what’ll be in-season, pick flower varieties (with backup options) according to your preferred color and style. If you have to order, schedule delivery 2 days before your big day.
2. Gather the necessary supplies.
You will need to following supplies to build your wedding bouquet:
- A bucket of water
- Floral snips
- Flower food
- Floral wire
- Floral tape
- Ribbon
- Pins or a glue gun
3. Select a bouquet style.
When it comes to style, the sky’s the limit! Some of the most common styles include round, posy, and garden bouquets. But you could design a cascading bouquet or go a little more Bohemian with an arrangement of fresh AND dried components. If you want to stick to a budget, your bouquet style will depend on the affordable flowers you can find.
4. Prepare the flowers & greenery.
You have your flowers and supplies…but you’re not ready to arrange the flowers in a beautiful bouquet JUST yet. First, you need to remove the leaves from the flower stems and the bottom portion of your greenery. To keep your flowers and greenery fresh, cut the bottoms of each stem at a diagonal angle and keep them in a bucket of water for at least 6 hours before you start arranging.
5. Use greenery as your foundation.
Stand in front of a mirror and arrange your greenery into the bouquet shape you’re envisioning. Common greenery options include ruscus, eucalyptus, leather leaf, olive, and even dusty miller or lavender. If you don’t want a lot of greenery in your bouquet, skip this step! You can insert bits of greenery later when you add filler flowers.
6. Insert your focal flowers.
Place larger flowers toward the middle and accent flowers around them. You’ll want to pick just one or two varieties of focal flowers (unless you’re going for a sort of wildflower look). For a balanced arrangement, include three to five of a given bloom in your bouquet.
7. Add filler & create depth.
Use filler flowers – like baby’s breath, mini carnations, wax flowers, statice, hypericum berries, or poms to fill the gaps in your arrangement. If desired, add line flowers – like snapdragon, larkspur, stock, and delphinium – to create dimension. Place greater emphasis on focal florals by pulling them foward.
8. Wrap & cut the stems.
Once you’re happy with your design, use a wire or rubber band and floral tape to secure the stems in place. Then, wrap the stems with your choice of ribbon. Trim the stems at least a few inches below the ribbon and place your bouquet in water. Keep your bouquet in fresh water in a cool place until it’s go-time.
World Class Wedding Venue | Wedding Venue Locator Tool
Did you find this article helpful?
The World Class Wedding Venues team does more than just provide useful wedding tips and guidance. With our wedding venue locator tool , you can locate your PERFECT wedding venue, searching by region, type of venue, proximity, and more!
